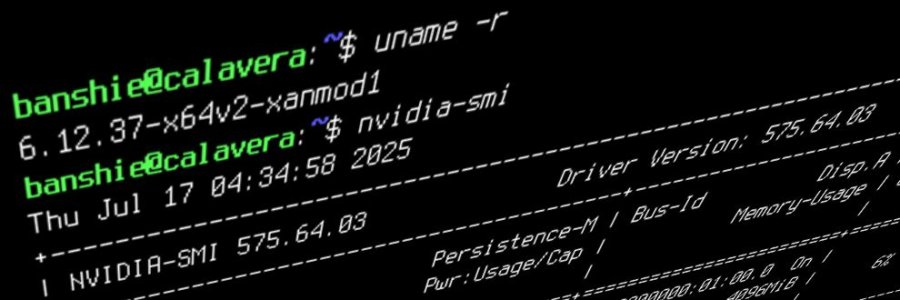
For those of us who love the stability and philosophy of a systemd-free OS like Devuan, we sometimes have to forge our own path to get the latest in gaming performance. This guide is for exactly that: installing the high-performance XanMod kernel and the latest Nvidia proprietary drivers (575 series at the time of writing) on a fresh Devuan 5 "Daedalus" system.
I recently went through this process on my own machines, and after some trial and error, I've refined the steps into a clean, repeatable process. We'll get the kernel from its official repository and use a combination of the repo's driver package and Nvidia's official .run file to ensure a successful installation.
Prerequisites
Before we begin, make sure you have the following:
- A system running a fresh installation of Devuan 5 "Daedalus".
- An internet connection.
- Crucially: Download the latest Nvidia Linux driver .run file from the official website before you start. You will lose your graphical interface during this process, so download it now. Save it somewhere easy to find, like your \~/Downloads folder.
- Nvidia Official Driver Search
- The file will be named NVIDIA-Linux-x86_64-575.64.03.run.
Step 1: Install the XanMod Kernel
First, we'll add the XanMod repository and install the kernel. We're using the Long-Term Support (LTS) version for a good balance of new features and stability.
-
Add the XanMod GPG Key:
Open a terminal and run the following command to add the repository's signing key.
wget -qO - https://dl.xanmod.org/archive.key | sudo gpg --dearmor -vo /etc/apt/keyrings/xanmod-archive-keyring.gpg -
Add the XanMod Repository:
Now, add the repository itself to your system's main sources list. Note that we are using the Debian bookworm codename, as Devuan 5 is based on it and XanMod doesn't have a specific daedalus entry.
echo 'deb [signed-by=/etc/apt/keyrings/xanmod-archive-keyring.gpg] http://deb.xanmod.org bookworm main non-free' | sudo tee -a /etc/apt/sources.list -
Update and Install:
Update your package list and install the appropriate XanMod LTS kernel. The x64v2 version is a good choice for most modern CPUs (Intel Sandy Bridge / AMD Jaguar and newer).
sudo apt update
sudo apt install linux-xanmod-lts-x64v2 -
Reboot:
Once the installation is complete, reboot your system to load the new XanMod kernel.
sudo rebootAfter rebooting, you can verify you're running the new kernel with uname -r.
Step 2: Prepare for the Nvidia Driver
This is the most critical phase. We need to stop the graphics server and remove all existing Nvidia drivers to prepare for the new ones.
-
Switch to a Virtual Console (TTY):
To ensure the graphics drivers are not in use, we need to switch to a text-only console. Press the following key combination:
Ctrl + Alt + F6
This will take you to a black screen with a login prompt. You can use any function key from F1 to F6. Log in with your username and password to continue. -
Purge Existing Nvidia Drivers:
Completely remove any Nvidia packages that might be on the system.
sudo apt-get purge 'nvidia*' -
Install Dependencies (The "Clever" Way):
We will now attempt to install the Nvidia driver from the XanMod repo. This step will likely fail at the end while trying to build the kernel module, and that is perfectly fine. Its main purpose is to pull in all the necessary dependencies (dkms, headers, build tools) required to compile the driver.
sudo apt-get install nvidia-driver-575Again, do not worry if you see errors about the module failing to build for your kernel. We are about to do that manually.
Step 3: Manual Nvidia Driver Installation
Now we'll use the .run file you downloaded earlier.
-
Navigate and Make Executable:
Go to the directory where you saved the Nvidia driver file. For example:
cd \~/Downloads
chmod +x NVIDIA-Linux-x86_64-575.64.03.run -
Run the Installer:
Execute the installer with sudo.
sudo ./NVIDIA-Linux-x86_64-575.64.03.run -
Follow the Installer Prompts:
The text-based installer will guide you through a few steps:- Accept the license agreement.
- When it asks to register the kernel module sources with DKMS, select Yes.
- You may see a warning about a missing libglvnd or EGL development library path. In my experience, this did not affect the installation, and you can proceed.
- When asked to install 32-bit compatibility libraries, select Yes.
- Allow the installer to run nvidia-xconfig to automatically update your Xorg configuration file. Select Yes.
Step 4: Finishing Up
Once the installer reports that it has successfully finished, all that's left is to reboot.
sudo reboot
Your system should now boot into a graphical session powered by your new XanMod kernel and the Nvidia 575 driver.
For a graphical way to inspect your configuration, look for NVIDIA X Server Settings in your application menu. The installation process creates the necessary .desktop file for this. This tool is the best way to see detailed information and configure your graphics card settings.
For a quick command-line check, you can also run:
nvidia-smi
This should display a table with your GPU details and the driver version. Happy gaming!
Banshie
GNU+Linux/BSD Adventurer
